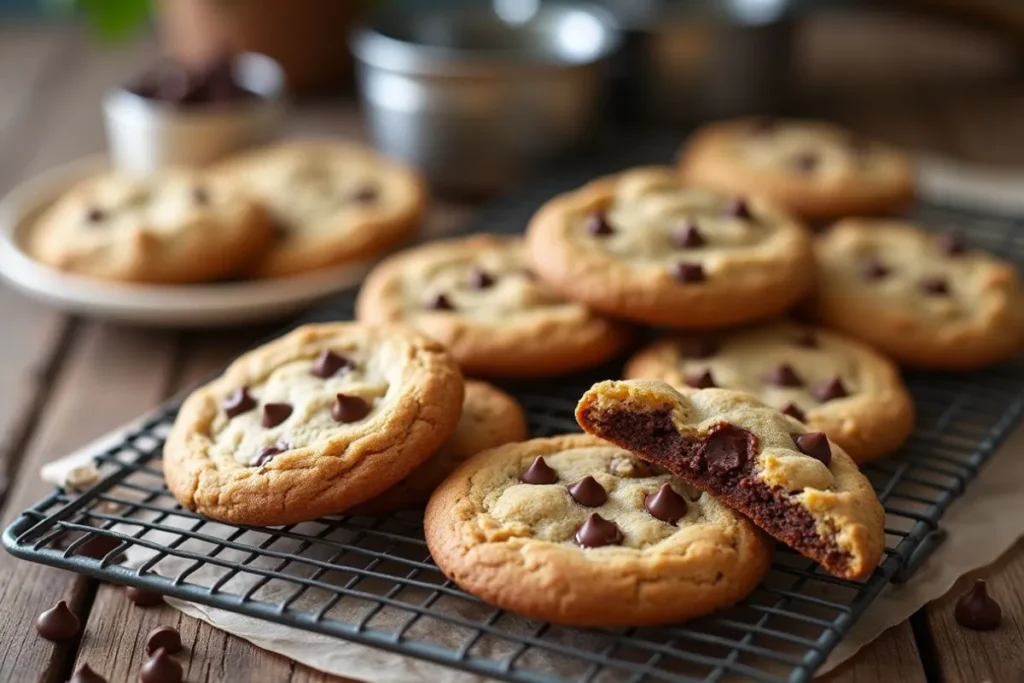
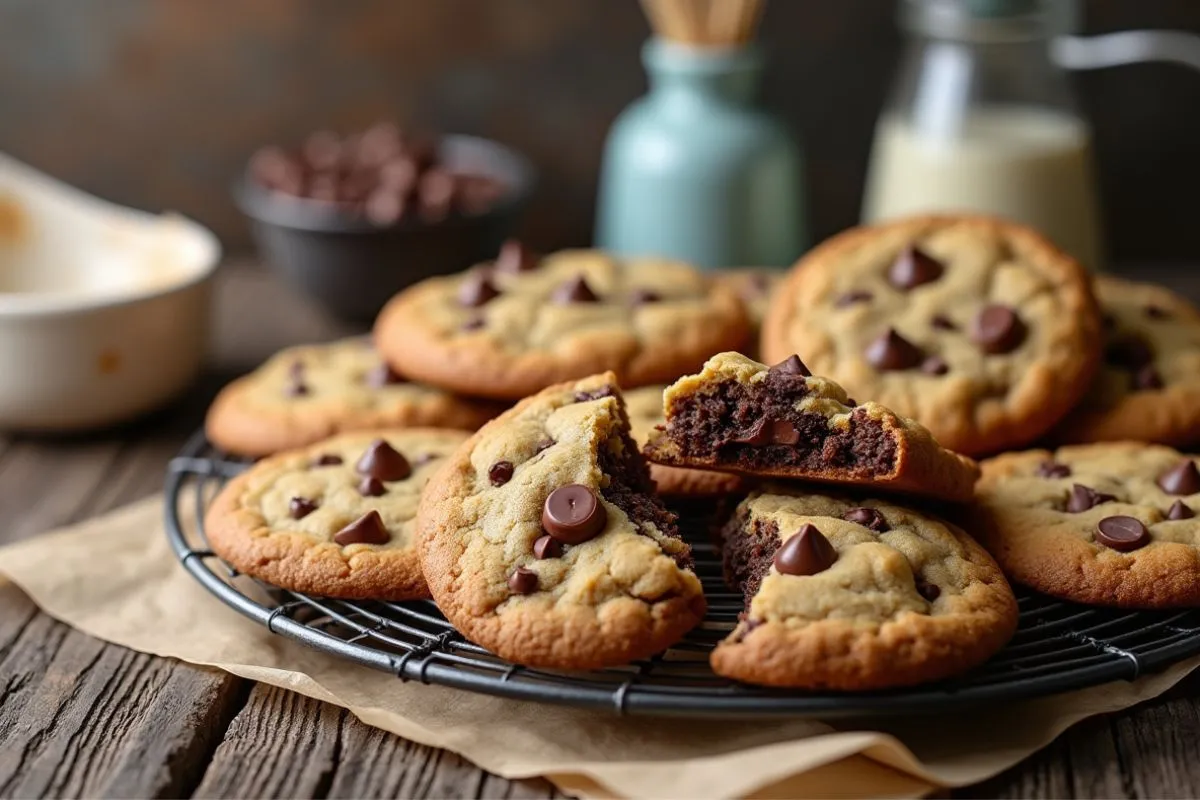
Disney’s chocolate chip cookies offer more than just a treat; they are a journey back to the magical experiences of Disney parks. Renowned for their irresistible blend of chewy and crispy textures, these cookies are a beloved favorite for many visitors. If the thought of sinking your teeth into a warm, gooey cookie while reminiscing about fun Disney adventures appeals to you, then recreating this experience at home is easier than you might think. With this guide, you’ll learn how to make these delightful cookies using metric measurements, ensuring precision and consistency in every batch. So, grab your apron and get ready to bring a little Disney magic into your kitchen!
Why Choose Metric Measurements?
Choosing metric measurements for your baking endeavors ensures accuracy that is often lacking in traditional recipes. Unlike volume measurements, weight allows you to measure ingredients precisely, giving you consistent results every time. It’s no wonder professional bakers and chefs prefer metric! For more insights on the benefits of using metric measurements in cooking, you can refer to the BBC Good Food guide on metric vs. imperial measurements.

Ingredients and Preparation
To capture the essence of the classic Disney chocolate chip cookie, let’s first list what you need:
- 250g unsalted butter: Ensure it’s softened to room temperature.
- 200g granulated sugar: Provides sweetness and a hint of crunch.
- 220g light brown sugar: Adds moistness and depth of flavor.
- 2 large eggs: These should be at room temperature.
- 5ml (1 teaspoon) vanilla extract: A warm and inviting aroma staple in cookie recipes.
- 375g all-purpose flour: Gives structure to the cookies.
- 5g (1 teaspoon) baking soda: Aids in the leavening of the cookies.
- 3g (1/2 teaspoon) salt: Enhances all the flavors.
- 400g semisweet chocolate chips: For those magical chocolate pockets.
Step-by-Step Instructions
In this section, we’ll delve deeper into the process, ensure you understand each step fully for maximum deliciousness.
1. Cream the Butter and Sugars
Begin by placing your softened butter, granulated sugar, and brown sugar into a mixing bowl. Whipping these together creates a light and fluffy mixture, which is crucial for the perfect texture. The process of creaming incorporates air, contributing to the cookie’s rise and lightness. For a deeper understanding of creaming methods and their role in baking, check the King Arthur Baking tips on creaming butter and sugar.
2. Add Wet Ingredients
With the butter and sugars perfectly creamed, it’s time to introduce the eggs. Add them one at a time, beating well after each addition. This technique ensures that the mixture emulsifies properly. Eggs are not just for moisture but also bind the ingredients together. Adding vanilla extract at this stage infuses the dough with its aromatic essence, wrapping all elements in a warm, rich flavor.
3. Incorporate Dry Ingredients
In a separate bowl, whisk together the all-purpose flour, baking soda, and salt. Whisking aerates the flour and evenly distributes the baking soda and salt, essential for even baking and taste. Gradually add this to the wet mixture. Mix on a low setting to prevent flour from puffing out of the bowl and avoid overmixing, which could make the cookies tough. The dough should be soft yet form when scooped.
4. Fold in Chocolate Chips
When it comes to chocolate chips, feel free to experiment. While semisweet is traditional, dark chocolate adds a richer flavor profile. At this stage, gently fold the chips into the dough, ensuring even distribution. You might even reserve a few to press on top of the cookies before baking for an extra visual appeal.
5. Chill the Dough
Chilling is often overlooked but crucial. Cooling the dough solidifies the fat in the butter, preventing the cookies from spreading too much while baking. Aim for at least 30 minutes in the refrigerator. For thicker cookies, some bakers even chill their dough overnight. Besides controlling spread, the rest period allows flour to fully absorb the liquid, developing the dough’s flavor. For an expert explanation of why chilling dough improves the texture, refer to the Serious Eats guide on cookie science.
6. Bake to Perfection
While waiting for the dough to chill, preheat your oven to 180°C (350°F). This temperature ensures the exterior sets quickly, resulting in that sought-after crispy edge. Line your baking trays with parchment paper, using it as a non-stick surface. When ready to bake, scoop heaping tablespoons of dough onto the tray, allowing ample space between each to expand. Bake for 10-12 minutes, watching closely as ovens vary. Once the edges are a rich golden brown and the centers are set (albeit slightly soft), remove them from the oven.
Perfecting Your Cookies
Why Are My Cookies Flat?
There could be several reasons for flat cookies: butter too soft, improper chilling, or oven temperature. Next time, focus on true room temperature butter, allowing adequate chilling, and ensuring your oven is accurately calibrated. For more troubleshooting on cookie baking, check out the tips from Food Network’s cookie baking guide.
How Can I Make My Cookies Chewier?
Consider increasing the proportion of brown sugar or slightly under-baking them, pulling the tray out just as the centers look unset. Remember, they continue baking on the sheet from residual heat.
Are There Substitutes for Chocolate Chips?
Absolutely! Get creative with your inclusions. From chopped nuts for a crunchy bite to white chocolate or butterscotch chips, the variations are endless.
Nutritional Considerations and Variations
Adapting the recipe can make it suitable for various diets and preferences. Here are some suggestions:
- Gluten-free Option: Replace all-purpose flour with a gluten-free flour blend. Ensure it’s a blend that includes a binder like xanthan gum to replace gluten’s elasticity. Review the Celiac Disease Foundation’s guide on gluten-free baking for more helpful substitution tips.
- Dairy-Free Adaptations: Use plant-based butter alternatives. Opt for oils with mild flavors to prevent altering the cookie’s taste.
- Lower Sugar Alternatives: While cookies are inherently sweet, experimenting with sugar substitutes like coconut sugar might lessen the glycemic impact.
Storing and Freezing Cookies
Proper storage enhances cookie freshness. Once cooled, store them in an airtight container to maintain their texture. To enjoy homemade cookies at your convenience, try freezing either the dough or baked cookies:
- Freezing the Dough: Roll it into balls and freeze on a tray. Once solid, transfer them to a zip-lock bag for storage. Feel like a cookie later? Just pop some on a tray and bake, perhaps adding an extra minute or two.
- Storing Baked Cookies: Keep them in layers separated by parchment paper inside an airtight container. They’ll stay fresh for up to a week.
Enhancing Your Disney Experience
For fans eager to expand their Disney culinary repertoire, there’s a treasure trove of recipes inspired by the myriad delights served across Disney parks. From churros to Dole Whip, these treats allow you to bring a bit more of the magic home. Exploring these recipes can enhance your baking adventures and offer delightful ways to reminisce about past park visits. For additional Disney-inspired culinary adventures, look to D23: The Official Disney Fan Club.
Conclusion and Call to Action
Mastering Disney’s chocolate chip cookies with metric ingredients is a rewarding feat, filled with delectable anticipation and joyful results. These cookies are more than a dessert; they’re a connection to cherished memories and magical experiences. Whether it’s during a family gathering or a simple weekday baking, the joy they spark is undeniable. Embark on this culinary journey and share your creations with friends or through social media. Perhaps you’ll inspire others to bring a bit of Disney magic into their homes too. Now that you have the blueprint, it’s time to roll up your sleeves and create your own Disney magic. Happy baking!

