If you’re craving a sweet, crunchy, and indulgent dessert that’s easy to whip up, you’ve landed in the right place. This article dives into the world of no-bake confections, spotlighting a fan-favorite treat that combines creamy peanut butter with the iconic crisp of Butterfinger candy. Whether you’re a beginner in the kitchen or a seasoned pro, this guide will walk you through every step to create a deliciously addictive snack. Let’s explore why this dessert is a must-try and how you can master it at home.
Why the Butterfinger Balls Recipe Stands Out Among No-Bake Desserts

No-bake desserts have surged in popularity for their simplicity and versatility. Among them, the butterfinger balls recipe shines as a standout choice. It blends the nostalgic flavor of Butterfinger bars with the ease of a no-oven-required process. Perfect for holidays, potlucks, or a quick family treat, these bite-sized delights require minimal ingredients and effort. Plus, they’re customizable—whether you want to tweak the sweetness or add a personal twist.
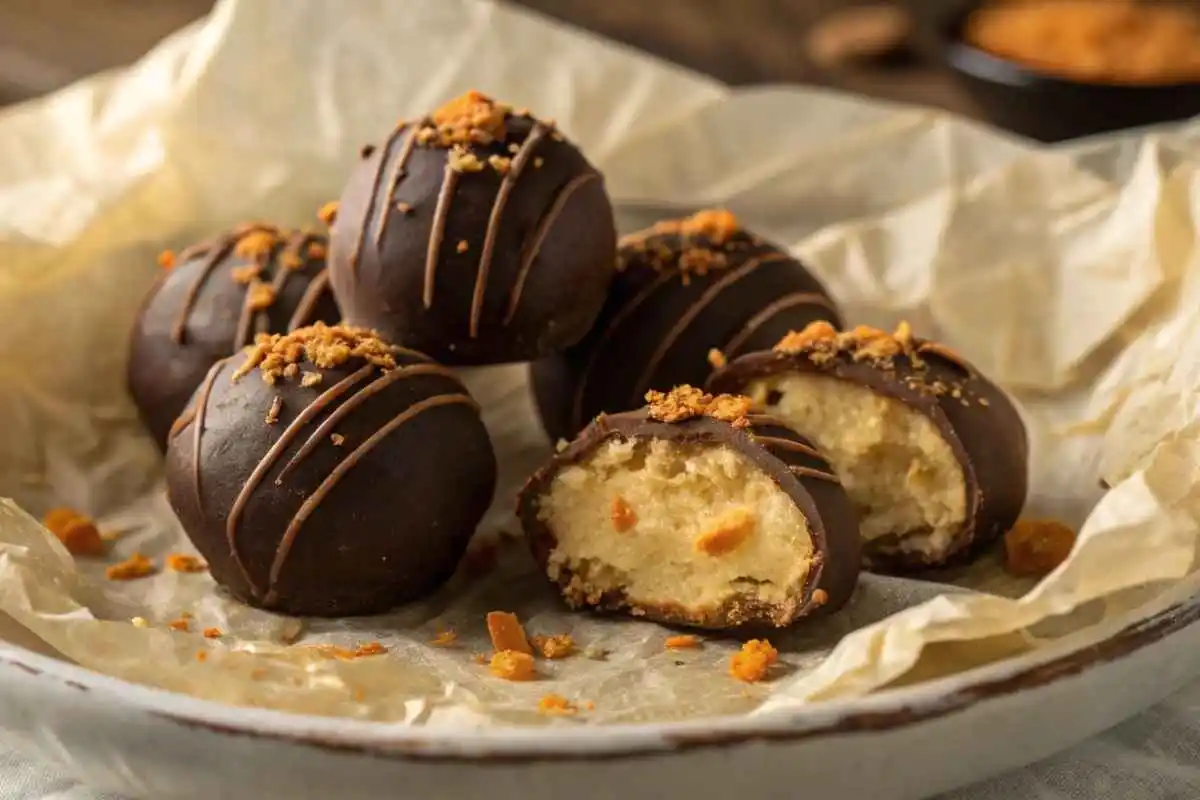
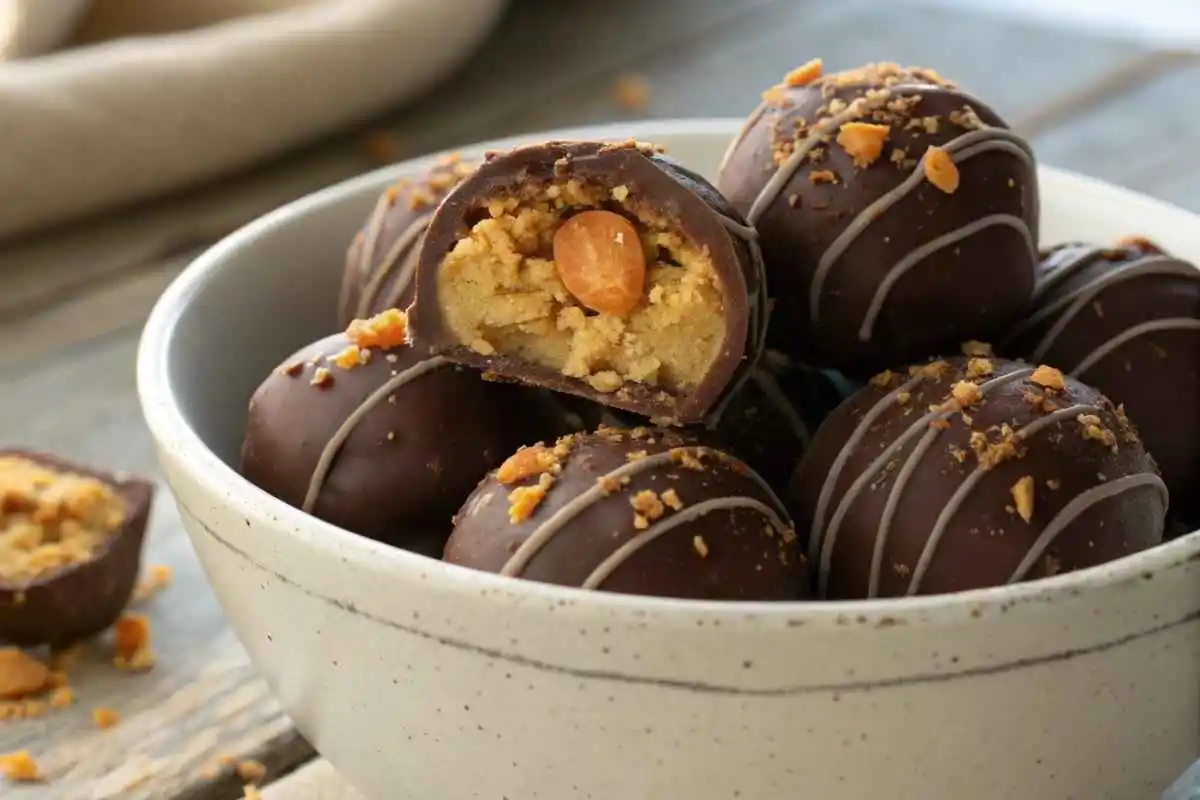
The appeal lies in its texture: a creamy peanut butter core coated in rich chocolate, punctuated by that signature Butterfinger crunch. According to a study from the National Confectioners Association, chocolate and peanut butter combinations rank among the top flavor pairings in the U.S., making this treat a crowd-pleaser by design. Ready to see why it’s so irresistible? Let’s break it down.
The History Behind the Butterfinger Balls Recipe
The butterfinger balls recipe draws inspiration from the Butterfinger candy bar, first introduced in 1923 by the Curtiss Candy Company. Known for its flaky, peanut-buttery center, the candy gained fame through clever marketing—like dropping bars from airplanes in the 1930s! Fast forward to today, and home cooks have transformed this classic into a no-bake ball that’s just as crave-worthy.
While the exact origin of the no-bake version is unclear, it aligns with the rise of quick dessert trends in the mid-20th century. Think peanut butter balls and buckeyes—simple recipes that families could make without firing up the oven. Adding crushed Butterfinger bars was a natural evolution, merging convenience with bold flavor.
How the Butterfinger Balls Recipe Evolved Over Time
Over the decades, the butterfinger balls recipe has adapted to modern tastes. Early versions might have relied on basic pantry staples like peanut butter and powdered sugar. Today, you’ll find variations with graham cracker crumbs for extra crunch or even a drizzle of caramel for decadence. The core remains the same: a balance of creamy, crunchy, and chocolatey goodness that’s hard to resist.
Step-by-Step Guide to Mastering the Butterfinger Balls Recipe

Ready to roll up your sleeves? This section walks you through the process of making these treats, ensuring every bite is perfection. The best part? No baking skills are required—just a little patience and a love for sweets.
Preparing Your Workspace for the Butterfinger Balls Recipe
Before you start, set yourself up for success. Clear a spot on your counter and line a baking sheet with parchment paper—this will be your chilling station. Gather your tools: a mixing bowl, a spoon or spatula, and a microwave-safe dish for melting chocolate. Having everything ready cuts down on mess and keeps the process smooth.
Pro tip: Chill the baking sheet in the fridge for 10 minutes beforehand. It’ll help the balls set faster once they’re coated.
Crushing Butterfinger Bars for the Butterfinger Balls Recipe
The star of the butterfinger balls recipe is, of course, the Butterfinger itself. Unwrap 2-3 full-size bars (or about 1 cup of crushed candy) and place them in a zip-top bag. Use a rolling pin or the back of a spoon to crush them into small, bite-sized pieces. You want a mix of fine crumbs and chunkier bits for that signature texture. Too fine, and you’ll lose the crunch; too big, and the balls won’t hold together.
Mixing the Dough for Your Butterfinger Balls Recipe
In a large bowl, combine 1 cup of creamy peanut butter with 1/4 cup of softened butter. Mix until smooth. Gradually add 2 cups of powdered sugar, stirring until it forms a thick, workable dough. Fold in your crushed Butterfinger pieces—save a small handful for sprinkling later if you’d like. The dough should be firm but pliable, like a soft cookie dough.
If it feels too sticky, add a tablespoon more powdered sugar. Too dry? A teaspoon of milk will do the trick. This step is all about finding the right consistency.
Shaping Perfect Balls with the Butterfinger Balls Recipe
Scoop out tablespoon-sized portions of dough and roll them into balls between your palms. Aim for uniformity—about 1 inch in diameter—so they chill and coat evenly. Place each ball on your prepared baking sheet. Once they’re all shaped, pop the tray into the fridge for 30 minutes. Chilling firms them up, making them easier to dip in chocolate.
Coating Your Butterfinger Balls Recipe in Chocolate
Melt 12 ounces of chocolate—milk, dark, or semi-sweet, depending on your preference—in a microwave-safe bowl. Heat in 30-second bursts, stirring between each, until smooth. Using a fork or dipping tool, coat each chilled ball in chocolate, letting the excess drip off. Place them back on the parchment-lined sheet. For a finishing touch, sprinkle reserved Butterfinger crumbs on top before the chocolate sets.
Let them harden in the fridge for another 20-30 minutes. You’ll know they’re ready when the chocolate is firm to the touch.
Tips and Tricks for the Best Butterfinger Balls Recipe
Even a simple recipe can benefit from a few insider secrets. Here’s how to elevate your game:
- Use Quality Chocolate: Cheap chocolate can seize or melt unevenly. Opt for brands like Ghirardelli or Lindt for a smooth finish. Learn more about chocolate tempering from The Spruce Eats.
- Chill Between Steps: Don’t skip the refrigeration—it prevents the balls from falling apart during dipping.
- Experiment with Add-Ins: Mix in crushed pretzels or a dash of sea salt for a sweet-salty twist.
Common Mistakes to Avoid with the Butterfinger Balls Recipe
Even pros can stumble. Here’s what to watch out for:
- Overmixing the Dough: Stir just until combined—overworking it makes the balls dense.
- Skipping the Chill: Warm dough leads to messy dipping and uneven shapes.
- Using Stale Candy: Fresh Butterfinger bars bring the best crunch. Check expiration dates!
Storing Your Butterfinger Balls Recipe Creations
Once set, store your treats in an airtight container. They’ll keep in the fridge for up to two weeks—though they rarely last that long! For longer storage, freeze them for up to three months. Layer with parchment paper to prevent sticking. Thaw in the fridge for an hour before serving to restore that perfect texture.
Why You’ll Love Making the Butterfinger Balls Recipe
This dessert checks all the boxes: quick, easy, and packed with flavor. It’s a hit with kids and adults alike, making it ideal for gatherings or a cozy night in. Plus, the no-bake factor means less cleanup and more time to enjoy. According to the U.S. Department of Agriculture, peanut butter is a top pantry staple in American homes—pair it with chocolate and Butterfinger, and you’ve got a winning combo.
Customizing Your Butterfinger Balls Recipe for Any Occasion
Make it your own! Swap milk chocolate for white chocolate at Halloween for a spooky vibe, or roll them in festive sprinkles for Christmas. Hosting a party? Double the batch and serve them on a platter with other no-bake treats like truffles or fudge.
Pairing Ideas for the Butterfinger Balls Recipe
These balls pair beautifully with a glass of cold milk or a hot cup of coffee. For a dessert spread, serve alongside vanilla ice cream—the creamy contrast enhances the crunch. Want a healthier twist? A side of fresh strawberries balances the richness.
Nutritional Insights on the Butterfinger Balls Recipe
Let’s be real—these treats are an indulgence. A single ball (about 1 inch) clocks in at roughly 100-120 calories, depending on your chocolate choice. You’ll get a dose of fat and sugar, with a small protein boost from the peanut butter. For a detailed breakdown of peanut butter’s nutritional profile, check out this resource from Harvard Health.
Making a Lighter Butterfinger Balls Recipe
Craving a lighter version? Swap full-fat peanut butter for a natural, reduced-fat option and use dark chocolate (70% cocoa or higher) to cut sugar. You won’t sacrifice flavor, but you’ll trim a few calories.
Ingredients for the Butterfinger Balls Recipe
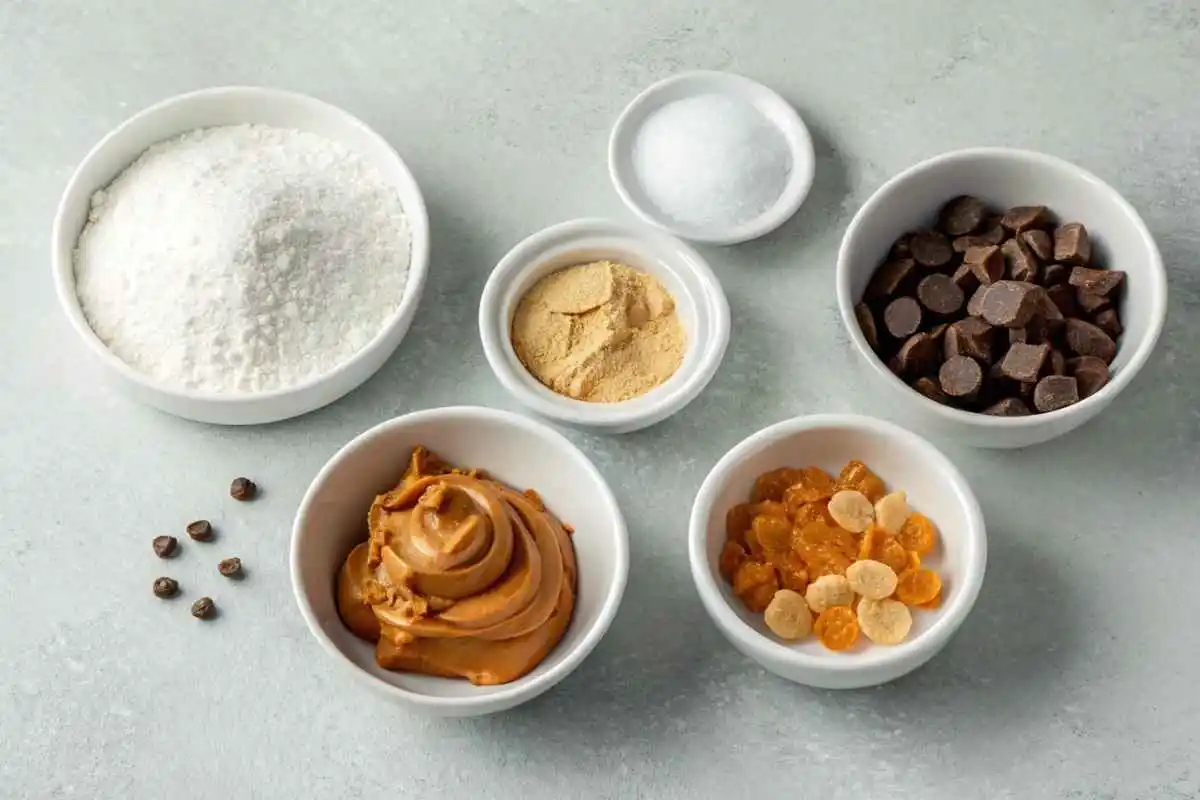
Here’s everything you’ll need to bring this treat to life:
- 1 cup creamy peanut butter
- 1/4 cup unsalted butter, softened
- 2 cups powdered sugar
- 1 cup crushed Butterfinger bars (about 2-3 full-size bars)
- 12 ounces chocolate (milk, dark, or semi-sweet)
- Optional: extra Butterfinger crumbs for topping

Butterfinger Balls: Easy No-Bake Treats
Description
Crunchy, peanut buttery balls dipped in chocolate—ready in minutes, no baking needed!
Ingredients
- 3 Butterfinger bars (about 6 oz total)
- 1 cup creamy peanut butter
- ½ cup powdered sugar
- 12 oz chocolate (milk, dark, or white)
- Optional: Pinch of salt or extra crushed Butterfinger for topping
Instructions
- Crush the Candy: Put the Butterfinger bars in a zip-top bag and smash them with a rolling pin until they’re fine crumbs. You can also use a food processor if you have one.
- Mix the Base: In a big bowl, stir the crushed Butterfinger crumbs, peanut butter, and powdered sugar together. Keep mixing until it feels like dough and sticks together when you press it.
- Roll the Balls: Scoop out small clumps (about a tablespoon each) and roll them into balls with your hands. Place them on a baking sheet lined with parchment paper.
- Chill Them: Pop the tray in the fridge for 30 minutes so the balls get firm.
- Melt the Chocolate: Break the chocolate into pieces and melt it in a microwave-safe bowl. Heat it for 20 seconds at a time, stirring after each round, until it’s smooth.
- Dip the Balls: Take the chilled balls and dip them into the melted chocolate. Use a fork to lift them out, letting extra chocolate drip off.
- Add Toppings (Optional): Sprinkle a little salt or extra Butterfinger crumbs on top before the chocolate hardens, if you want.
- Set Them: Put the dipped balls back on the tray and chill in the fridge for 20 minutes until the chocolate is solid.
- Enjoy: Take them out and dig in!
Notes
- Storage: Keep them in a sealed container in the fridge for up to 2 weeks, or freeze for 3 months.
- Sticky Fix: If the mix is too gooey to roll, add a spoonful of powdered sugar and stir again.
- Flavor Fun: Try mixing in a tiny bit of cinnamon or using dark chocolate for a twist.
- Safety Tip: If kids are helping, watch them around the hot chocolate part.
FAQ
Got questions about making these no-bake treats? We’ve got answers! Here’s everything you need to know to perfect this delicious dessert.
What Are Butterfinger Balls Made Of?
Butterfinger balls are a simple mix of crushed Butterfinger candy bars, creamy peanut butter, a bit of powdered sugar, and a chocolate coating. Some optional add-ins like salt or extra crumbs can elevate the flavor. Check the Ingredients section above for the full list!
How Long Do Butterfinger Balls Last?
Stored in an airtight container in the fridge, they stay fresh for up to two weeks. For longer storage, freeze them for up to three months—just layer with parchment paper to prevent sticking.
Can I Make Butterfinger Balls Gluten-Free?
Yes! Most Butterfinger bars are naturally gluten-free, but always double-check the packaging for cross-contamination warnings. Use gluten-free chocolate and skip any graham cracker add-ins to keep it safe.
Why Is My Mixture Too Sticky to Roll?
If the dough feels too wet, it might need a little extra dry ingredient. Add a tablespoon of powdered sugar or crushed graham crackers, mix well, and test again. Chilling the mixture briefly can also help.
Can I Use Dark Chocolate Instead of Milk Chocolate?
Absolutely! Dark chocolate works beautifully and adds a richer flavor. You can also try white chocolate or even a mix of both for variety—whatever suits your taste!
Are Butterfinger Balls Kid-Friendly to Make?
Definitely! Kids love crushing the candy bars and rolling the balls. Just supervise the chocolate-dipping step if using a microwave or stovetop to keep it safe and fun.
How Do I Prevent the Chocolate From Melting?
After dipping, let the balls set in the fridge for at least 20 minutes. If the chocolate still softens at room temperature, try tempering it by melting slowly over a double boiler for a sturdier finish.
Can I Add Other Flavors to the Mix?
For sure! Mix in a teaspoon of espresso powder for a coffee kick, a swirl of caramel for gooeyness, or a dash of cinnamon for warmth. Get creative and make them your own!
Do I Need Special Equipment to Make Them?
Nope—just basic kitchen tools! A mixing bowl, spatula, and a lined baking sheet are all you need. A microwave or double boiler helps with melting chocolate, but that’s it.
Where Can I Serve These Treats?
They’re perfect for any occasion—holiday parties, potlucks, or a cozy movie night. Pair them with milk or coffee for a crowd-pleasing combo that’ll have everyone asking for the recipe!
Conclusion:
With this no-bake treat in your arsenal, you’re ready to impress friends, family, or just yourself with minimal effort. These bite-sized delights pack a punch of flavor and nostalgia, all without turning on the oven. Whether you stick to the classic version or spice it up with your own twist, the result is pure dessert magic. So, grab your mixing bowl and dive in—your next favorite indulgence is just a roll away. What’s your go-to variation? Share your ideas below—I’d love to hear how you make this recipe your own!

