Nothing beats the smell of freshly baked bread wafting through your kitchen. Whether you’re crafting a classic PB&J or a gourmet grilled cheese, the foundation of any great sandwich is the bread. Making your own sandwich bread might sound intimidating, but it’s easier than you think. With the right steps, you can create soft, flavorful loaves that rival anything from a bakery.
In this guide, we’ll walk you through everything you need to know to nail a homemade sandwich bread recipe. From choosing the best ingredients to troubleshooting common baking pitfalls, you’ll be slicing into perfect loaves in no time. Let’s dive in!
Why Make Your Own Sandwich Bread Recipe?
Baking your own bread isn’t just about the end result—it’s about the experience. Store-bought bread often contains preservatives and artificial additives. When you bake at home, you control what goes in. Plus, it’s a budget-friendly way to enjoy high-quality bread tailored to your taste.
Homemade bread also elevates your sandwiches. Imagine biting into a turkey club or a simple ham and cheese sandwich made with bread you baked yourself. The texture, flavor, and freshness are unmatched. Ready to get started? Let’s explore the essentials.
The Basics of a Great Sandwich Bread Recipe
Creating sandwich bread starts with understanding the fundamentals. You don’t need fancy equipment or years of baking experience—just a few key principles. The goal is a loaf that’s soft yet sturdy, with a light crumb and a golden crust.
Flour, yeast, water, and salt are your building blocks. From there, you can tweak the formula to suit your preferences—think honey for sweetness or butter for richness. Mastering these basics sets you up for success every time you bake.
Choosing the Right Flour for Your Sandwich Bread Recipe
Flour is the backbone of any bread, and sandwich bread is no exception. All-purpose flour works well for beginners, offering a balance of strength and tenderness. For a chewier texture, bread flour—with its higher protein content—is a fantastic choice.
Whole wheat flour adds nutty flavor but can make the loaf denser. If you’re experimenting, try a mix of flours. According to the King Arthur Baking Company, blending flours can enhance both taste and texture. Whatever you choose, measure accurately—too much flour leads to a dry loaf.
The Role of Yeast in a Sandwich Bread Recipe
Yeast is what makes your bread rise and gives it that airy structure. Active dry yeast is a reliable option, but instant yeast works faster. Either way, proofing—mixing yeast with warm water and a pinch of sugar—ensures it’s alive and ready to work.
Temperature matters here. Water that’s too hot (above 120°F) kills yeast, while cold water slows it down. The USDA Food Safety and Inspection Service recommends keeping dough in a warm, draft-free spot for optimal rising. Patience is key—let the dough double in size for the best results.
Step-by-Step Guide to Crafting Your Sandwich Bread Recipe
Ready to bake? Follow these steps for a foolproof loaf. This process is simple but requires attention to detail. Don’t rush—good bread takes time.
First, gather your tools: a mixing bowl, measuring cups, a loaf pan, and a clean workspace. Preheat your oven later, once the dough has risen. Now, let’s get to the fun part—making the dough.
Mixing and Kneading Dough for a Sandwich Bread Recipe

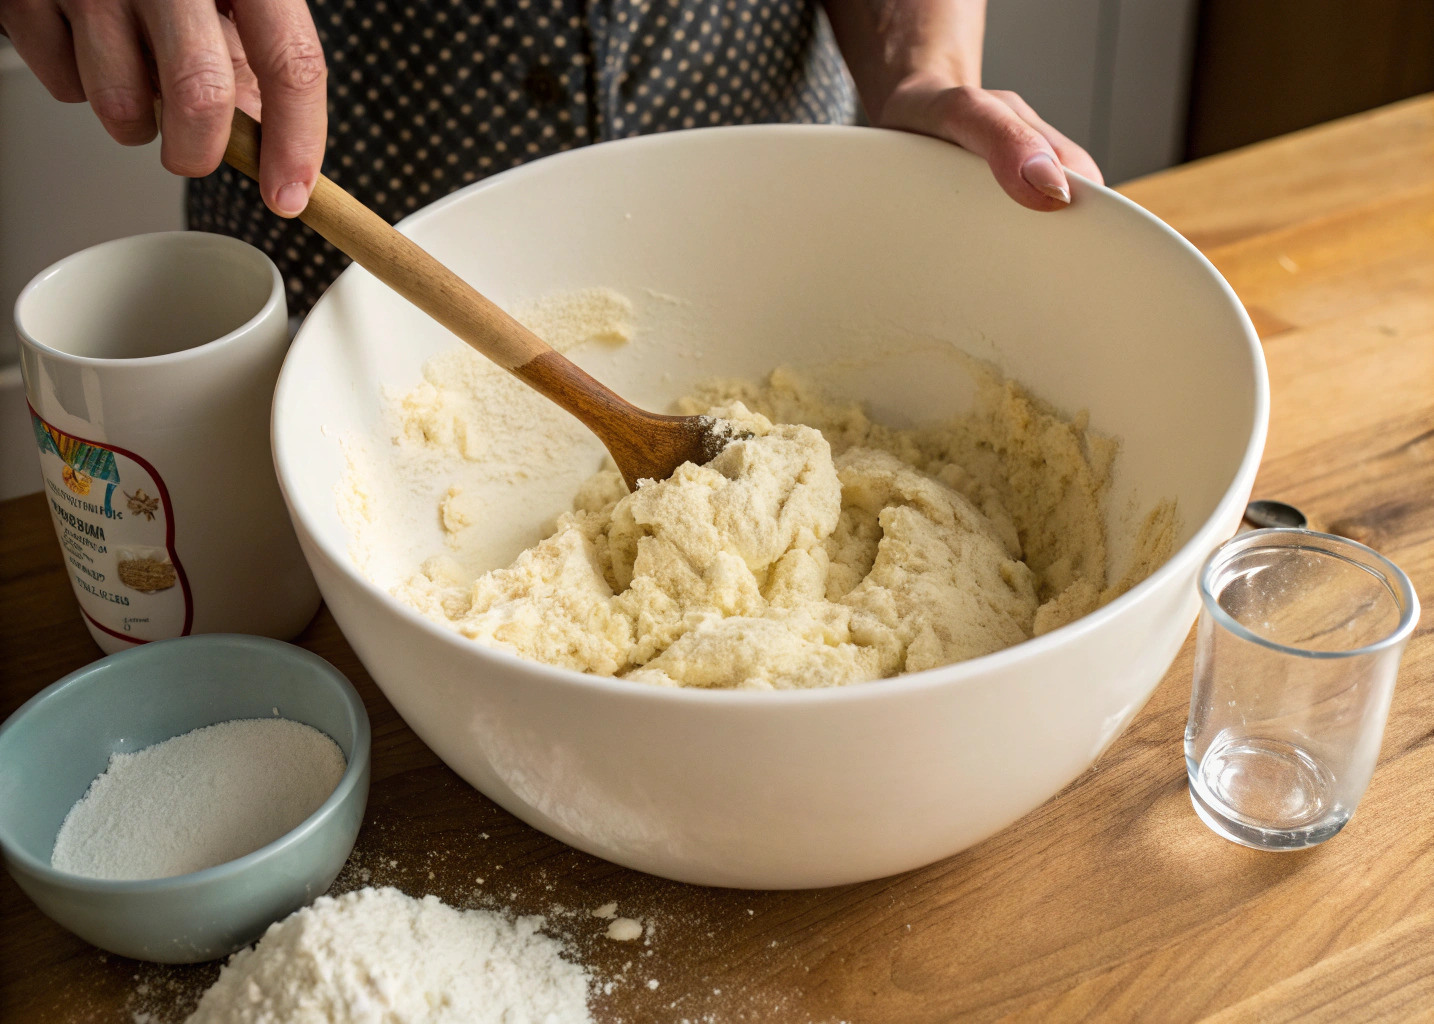
Start by combining your dry ingredients—flour, yeast, and salt—in a large bowl. In a separate container, mix warm water (about 110°F) with a touch of sugar or honey. Pour the wet into the dry, stirring until a shaggy dough forms.
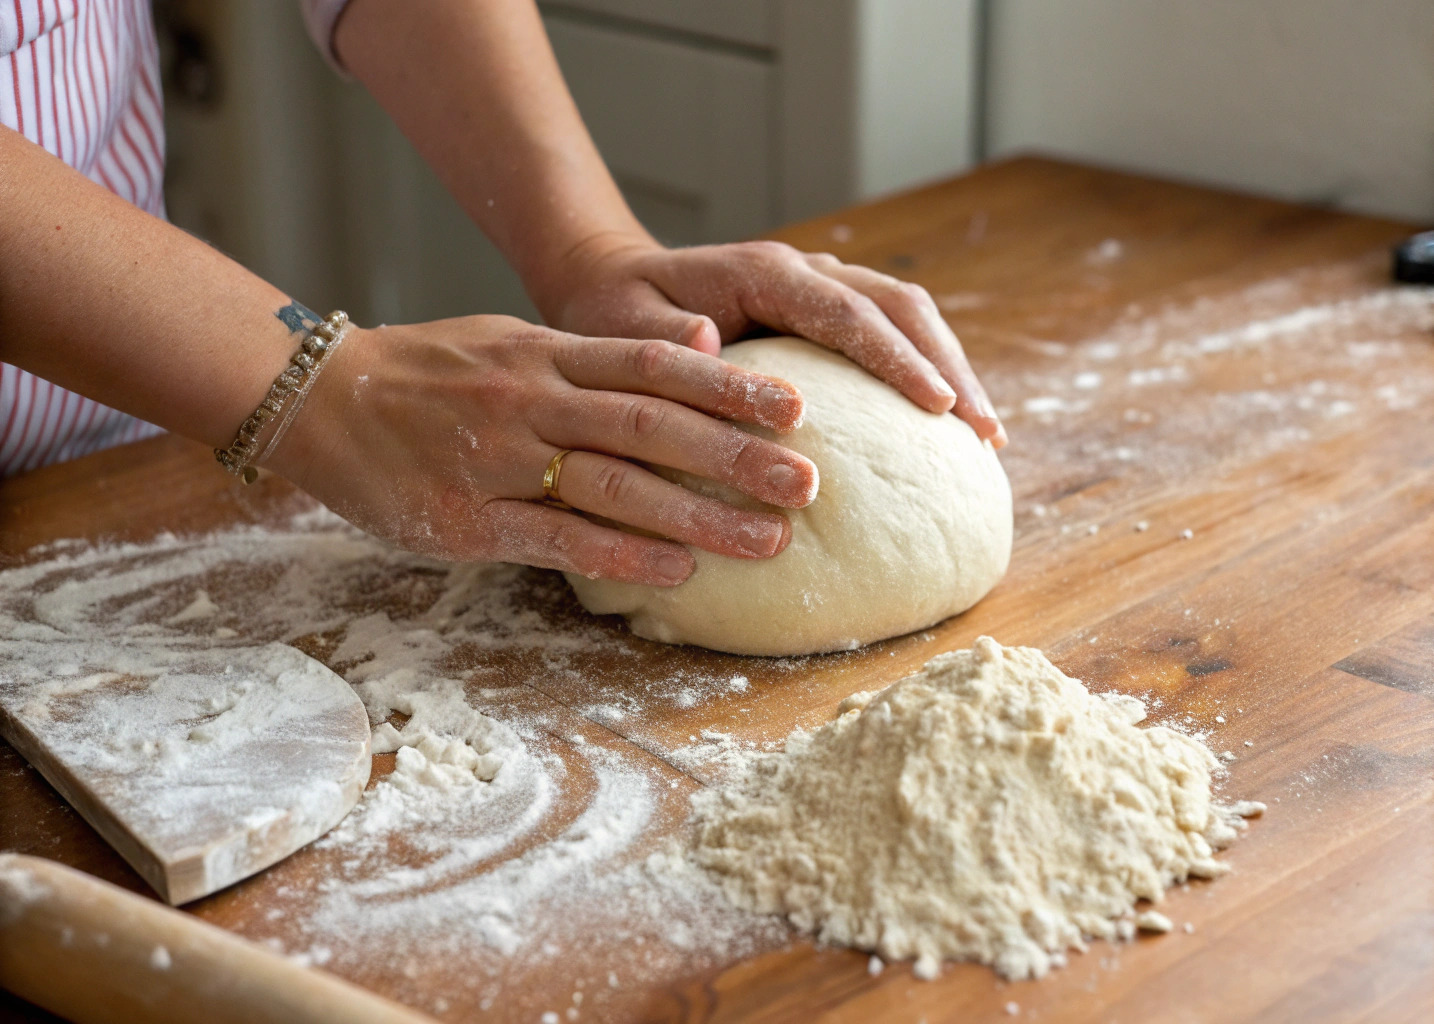
Next, knead the dough. On a floured surface, work it for 8-10 minutes until smooth and elastic. Not sure if it’s ready? Try the windowpane test: stretch a small piece thin enough to see light through it without tearing. This ensures the gluten is developed, a tip backed by Serious Eats.
Proofing Your Sandwich Bread Recipe Dough

Stirring flour, water, and yeast to create the perfect dough base in a cozy kitchen
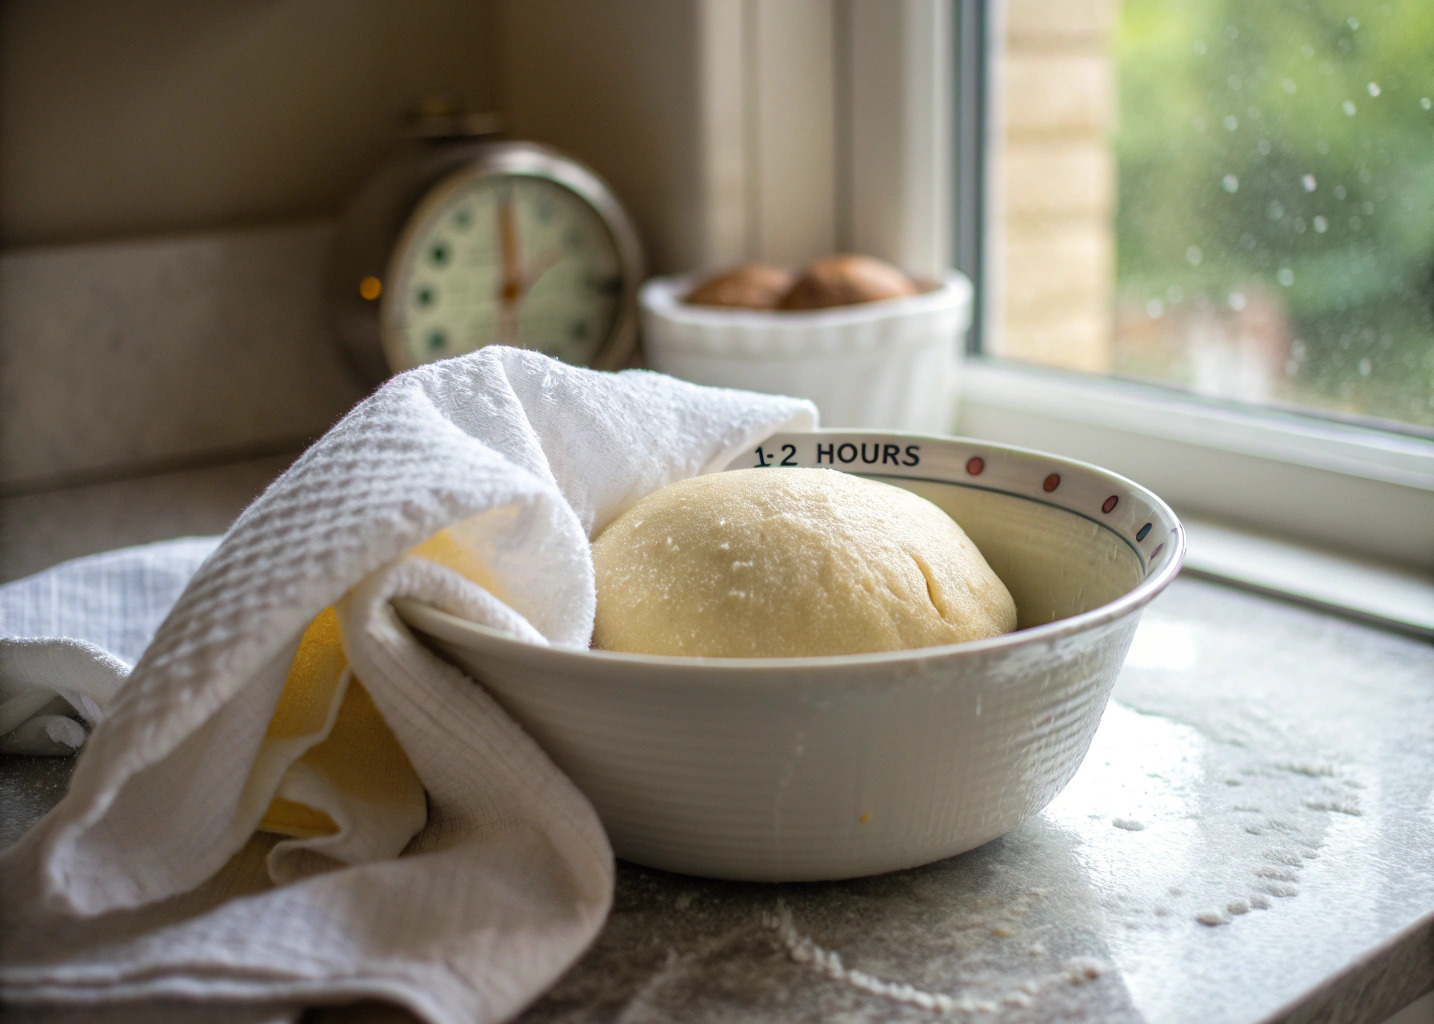
Once kneaded, shape the dough into a ball and place it in a lightly oiled bowl. Cover it with a damp cloth and let it rise for 1-2 hours. You’re looking for it to double in size. A warm kitchen speeds this up, but avoid direct heat.
After the first rise, punch it down gently to release air. Shape it into a loaf and place it in a greased 9×5-inch pan. Cover again and let it rise for another 45 minutes. This second proof is crucial for that perfect sandwich-ready texture.
Baking the Perfect Sandwich Bread Recipe Loaf

Dough resting in an oiled bowl, covered for its first rise
Preheat your oven to 375°F. If you want a shiny crust, brush the dough with milk or an egg wash before baking. Pop the pan in and bake for 30-35 minutes. The loaf should sound hollow when tapped and reach an internal temperature of 190°F.
Let it cool completely on a wire rack before slicing. Cutting too soon traps steam, making the bread gummy. Patience here pays off with clean, even slices.
Customizing Your Sandwich Bread Recipe
One of the joys of baking at home is personalization. Want a sweeter loaf? Add a tablespoon of honey or molasses. Craving something savory? Toss in herbs like rosemary or thyme. The possibilities are endless.
You can also play with shapes. While a loaf pan is standard, freeform rounds or rolls work too. Experimenting keeps things fresh and lets you tailor the bread to your sandwich plans.
Adding Seeds or Grains to Your Sandwich Bread Recipe
Seeds and grains boost both flavor and nutrition. Sesame, poppy, or sunflower seeds add crunch, while oats or flaxseeds bring heartiness. Mix them into the dough or sprinkle them on top before baking.
A study from the National Institutes of Health highlights the health benefits of whole grains, like improved digestion. Just don’t overdo it—too many add-ins can weigh the dough down. Start with a quarter cup and adjust from there.
Sweet vs. Savory Sandwich Bread Recipe Variations
For a sweet twist, try cinnamon swirl sandwich bread—perfect for toast or French toast sandwiches. Swirl a mix of sugar and cinnamon into the dough before the second rise. On the savory side, cheddar and jalapeño make a killer combo for spicy sandwiches.
Taste test as you go. Small tweaks can transform the loaf to match your mood or meal. Keep notes on what works—you’ll build a collection of go-to recipes in no time.
Troubleshooting Common Sandwich Bread Recipe Issues
Even seasoned bakers hit snags. Dense bread? You might’ve used too much flour or skipped proper proofing. Crumbly texture? Check your water ratio—too little moisture is often the culprit.
If the crust is too hard, lower the oven temperature slightly or cover the loaf with foil midway through baking. Every oven’s different, so adjust as needed. Practice makes perfect, and soon you’ll spot issues before they happen.
Fixing a Doughy Center in Your Sandwich Bread Recipe
A doughy middle means underbaking. Use an instant-read thermometer to confirm the center hits 190°F. If it’s not there yet, pop it back in for 5-10 minutes. Tent with foil if the crust is browning too fast.
Another fix: let the dough rise fully before baking. Underproofed dough bakes unevenly. Trust the process, and you’ll avoid this rookie mistake.
Storing and Freezing Your Sandwich Bread Recipe
Fresh bread is best within two days, but smart storage extends its life. Keep it in a bread box or paper bag at room temperature—plastic traps moisture and speeds up mold. For longer storage, freeze it.
Slice the loaf first, then wrap each piece in plastic wrap and store in a freezer bag. It’ll stay good for up to three months. Toast straight from frozen for a quick sandwich base.
Reviving Stale Sandwich Bread Recipe Loaves
Stale bread isn’t a lost cause. Sprinkle it with water, wrap in foil, and warm in a 300°F oven for 10 minutes. It won’t be quite as fresh, but it’ll work for sandwiches or toast. Alternatively, turn it into breadcrumbs or croutons—zero waste!
Why Homemade Beats Store-Bought Every Time
The effort you put into baking pays off in flavor, quality, and satisfaction. You’re not just making bread—you’re crafting an experience. Plus, you’ll impress friends and family with your skills.
Next time you’re craving a sandwich, skip the supermarket aisle. Pull out your flour and yeast instead. With practice, you’ll wonder why you ever settled for less.
Ingredients for Your Sandwich Bread Recipe
Here’s what you’ll need for a classic loaf. Adjust quantities based on your pan size or preferences.
- 3 ½ cups all-purpose or bread flour
- 1 ¼ cups warm water (110°F)
- 2 tablespoons sugar or honey
- 1 tablespoon active dry yeast
- 1 teaspoon salt
- 2 tablespoons unsalted butter, softened (or oil)
Optional add-ins:
- ¼ cup seeds (sesame, flax, etc.)
- 1 tablespoon dried herbs
Mix, knead, proof, and bake—simple ingredients, extraordinary results. Enjoy your homemade masterpiece!
Frequently Asked Questions About Homemade Sandwich Bread
Baking bread at home raises a lot of questions, especially for beginners. Here’s a quick rundown of the most common queries to help you perfect your loaves with confidence.
What’s the best flour for homemade sandwich bread?
All-purpose flour is a great starting point because it’s versatile and easy to find. For a chewier bite, bread flour works wonders thanks to its higher protein content. You can also mix in whole wheat flour for extra flavor—just don’t overdo it, or the loaf might get dense.
How long does it take to make bread from scratch?
From start to finish, expect about 3-4 hours. Most of that is hands-off time for rising—mixing and kneading take less than 20 minutes. Baking itself is around 30-35 minutes. It’s a weekend project that’s worth every second.
Why didn’t my dough rise?
A few culprits could be at play. Check your yeast—it might be expired or killed by water that’s too hot (over 120°F). Also, make sure your kitchen isn’t too cold. A warm, draft-free spot is ideal for happy dough.
Can I make bread without a loaf pan?
Absolutely! Shape the dough into a freeform loaf or rolls and bake on a sheet. It won’t have that classic sandwich shape, but it’ll still taste amazing. Adjust baking time slightly—check for a hollow sound when tapped.
How do I keep my homemade bread fresh?
Store it in a bread box or paper bag at room temp for up to two days. Avoid plastic unless you’re freezing it—plastic traps moisture and speeds up spoilage. For longer storage, slice and freeze in a sealed bag.
What if my loaf turns out too dense?
Dense bread often means too much flour or not enough rising time. Measure flour by spooning it into your cup, not scooping, and let the dough double in size during proofing. Kneading well also helps build that airy structure.
Can I add flavors like herbs or cheese?
Yes, and you should! Mix in dried herbs, shredded cheese, or even seeds during kneading for a custom twist. Start small—about a tablespoon of herbs or a quarter cup of add-ins—so the dough still rises properly.
How do I know when the bread is fully baked?
Tap the bottom—if it sounds hollow, it’s done. For precision, use a thermometer; the center should hit 190°F. If it’s underbaked, you’ll get a doughy middle, so don’t rush this step.
Why does my crust get too hard?
A tough crust can come from baking at too high a temperature or not enough moisture. Try lowering the oven to 350°F or brushing the dough with milk before baking. Covering with foil halfway through can also soften it up.
Can I freeze the dough instead of the baked loaf?
You can! After the first rise, shape the dough, wrap it tightly in plastic, and freeze. When ready to bake, thaw it in the fridge overnight, let it rise again, and bake as usual. It’s a time-saver for fresh bread on demand.

